You can keep LED lights running for a long time by cleaning fixtures, managing heat, and using compatible dimmers. If you’re asking, how do I maintain LED lights for long life, you’re already ahead of most people. These lights usually don’t fail early because they are bad by default. In real homes and shops, early failure often comes from heat buildup, poor airflow, wrong dimmers, voltage issues, and small maintenance habits that get skipped.
Before we get into the practical fixes, it helps to look at your full indoor lighting setup services plan, too, because fixture choice, placement, and controls all play a role in how long LEDs actually last.
Quick Answer
- Clean bulbs and fixtures every 3–6 months.
- Use rated fixtures and keep airflow around LEDs.
- Fix flicker early (dimmer, driver, or wiring issue).
- Use surge protection in unstable power areas.
- Match dimmable LEDs with LED-compatible dimmers.
Most early LED failures are caused by heat, driver stress, or dimmer/power issues, not the LED chip itself.
Why LED Lights Last Longer
LEDs are built for longer life, but long life depends on the whole lighting system, not just the LED chip.
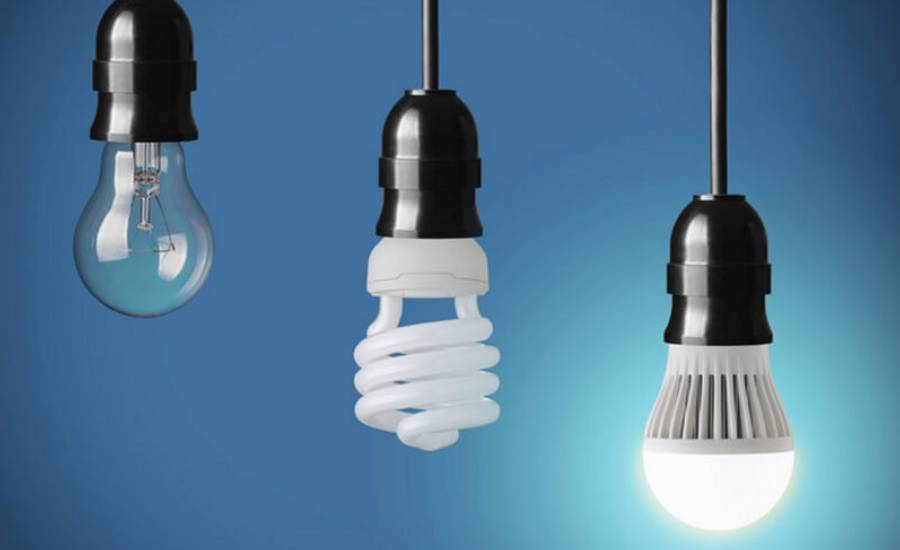
The U.S. Department of Energy explains that quality LED bulbs last longer and use much less energy than incandescent lighting. That’s true, but in real homes, two LEDs with the same wattage can still perform very differently over time.
A big reason is that LEDs usually do not “burn out” the same way older bulbs do. As Energy Star explains, they often lose brightness gradually (lumen depreciation), which is why maintenance matters if you want good light output for years, not just a bulb that still switches on.
Heat Management is the Biggest Factor in LED Lifespan
This is where most early failures begin. LEDs are efficient, but they still create heat that must be managed inside the fixture.
ENERGY STAR notes that LED heat is pulled into a heat sink to protect performance. When that heat gets trapped, brightness drops, components wear faster, and lifespan can shrink.
Your LEDs are more likely to fail early when:
- The fixture has poor ventilation.
- The bulb is not rated for enclosed fixtures.
- Dust and grease are trapping heat around covers and vents.
Simple Ways to Reduce Heat Stress
The good news is that heat control is mostly about smart setup, not expensive upgrades.
- Use bulbs rated for enclosed fixtures (when needed).
- Keep diffusers and vents clean.
- Avoid oversized output in compact fixtures.
- Buy products with clear ratings and specs.
A good LED is not just bright. It is built to manage heat well.
How Do I Maintain LED Lights for Long Life Day to Day?
Once heat is under control, daily care becomes simple. The goal is to keep fixtures clean, spot warning signs early, and fix compatibility problems before they turn into repeat replacements.
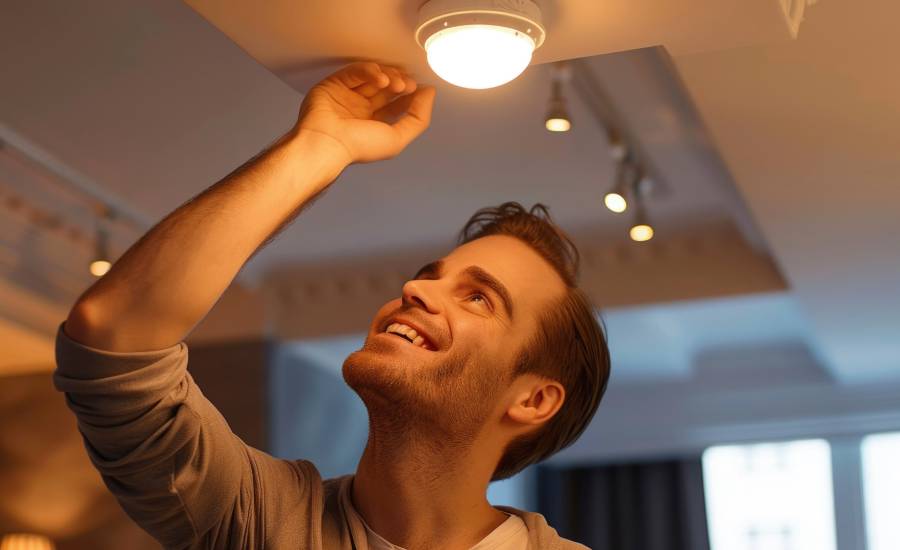
1. Clean the Bulb and the Fixture
This is the easiest win, and it gets ignored all the time. Dust lowers visible brightness and can reduce airflow around the fixture.
Turn off the power first, let the fixture cool, and wipe with a soft dry cloth. If the cover is greasy (common in kitchens), use a lightly dampened cloth and dry it fully before turning the light back on.
2. Watch for Early Signs of Stress
Most LEDs show small warning signs before they fail. Watch for:
- Dimming after the light warms up.
These signs often point to heat stress, driver issues, or dimmer mismatch, not just a dead bulb.
3. Match the Product to the Room
Bathrooms, kitchens, shops, and dusty work areas put more stress on LED lighting than bedrooms or hallways.
Moisture, grease, and heat can quickly shorten the lifespan of a fixture that is not rated for that environment.
4. Protect LEDs from Unstable Power
LED systems rely on electronic parts, especially drivers. In areas with voltage fluctuations, those parts usually fail before the LED chip itself.
Using proper surge protection (where suitable) and choosing better-quality fixtures can reduce repeat failures.
LED Maintenance Schedule for Long Life
Instead of checking lights only when something goes wrong, use a simple schedule. It takes very little time and helps prevent early LED failure.
1. Monthly (2–5 minutes)
Do a quick scan:
- Any dark patches or uneven output?
- Any dirty or yellowing cover?
2. Every 3–6 months
This is your main maintenance window:
- Clean bulb, fixture body, and diffuser
- Check the airflow around the fixture.
- Test dimmer behavior at low settings
- Confirm replacement bulbs match fixture rating.
3. Once a Year
Use one yearly review to stop repeat mistakes:
- Replace repeat-failure bulbs with better-quality options.
- Inspect dimmers and switches in high-use rooms.
- Review hot rooms for fixture upgrades.
- Note install dates for frequently used lights.
Quick Troubleshooting Table
| Problem | Likely Cause | Check First |
| Flicker | Dimmer mismatch / loose connection | Reseat the bulb, test the dimmer |
| Dimming over time | Heat buildup/driver stress | Clean fixture, check airflow |
| Buzzing | Dimmer incompatibility | LED-compatible dimmer |
| Early failure in one room | Heat/moisture/power issue | Fixture rating + room conditions |
| Uneven brightness | Driver issue / poor connection | Connections, driver health |
Why Do LED Lights Flicker, And How Can They Be Fixed?
This is usually the next question after “Why did my LED fail so fast?” In many cases, flicker comes from voltage fluctuation, loose connections, dimmer mismatch, or a failing driver.
The CCOHS light flicker guide explains that flicker can happen when supply voltage changes or line voltage fluctuates. It also notes that the lamp and fixture condition affects how noticeable the flicker becomes.
Common Flicker Causes and What to Do First
1. Loose Bulb or Poor Contact
Turn off the power and reseat the bulb. If flicker continues, check the holder/terminal safely or get an electrician to inspect it.
2. Wrong Dimmer for LED
Older dimmers are a common cause of flicker and buzzing with newer LEDs.
3. Failing Driver (Especially Integrated Fixtures)
If the flicker gets worse after the light warms up, the driver may be weakening.
4. Voltage Fluctuation or an Overloaded Circuit
If multiple lights flicker at once, the issue may be the circuit or supply, not the bulb.
When Flicker Becomes a Safety Issue
Some flicker is just a compatibility problem. Some flicker is a warning sign.
If you also notice warm outlets, overheating signs, or breaker problems, treat it as an electrical safety issue. Miami-Dade Fire Rescue’s electrical hazard guidance highlights overheating and overloaded outlets as fire risks.
Call a Licensed Electrician if You Notice:
- Multiple lights flickering together
- Buzzing near a panel or switch
Can LED Lights be Dimmed?
Yes, they can, but the setup must match. The LED must be dimmable, and the dimmer must be compatible with the LED and driver.
The NEMA LED Dimming Compatibility Program explains that some bulb-and-dimmer combinations may seem to work but still cause flicker or hum. That is exactly why many people replace a bulb and still have the same problem.
Dimming Checklist (Use Before You Buy)
- Use an LED-compatible dimmer.
- Avoid mixing brands on one dimmer circuit.
- Test low-end dimming for flicker or hum
- Replace older dimmers if problems continue.
And here’s a useful myth-buster: the DOE notes that LED operating life is not negatively affected by switching on and off, unlike fluorescent lamps. That makes LEDs a strong fit for sensors and smart controls.
Common Mistakes that Shorten LED Life
This is where many people lose years of performance without realizing it. The mistakes are common, and most are easy to fix.
- Using non-dimmable LEDs on dimmer circuits
- Ignoring enclosed-fixture ratings
- Buying the cheapest no-spec product
- Replacing bulbs without checking the dimmer or driver
- Using the wrong product in hot or humid rooms
- Assuming flicker is “normal” and waiting too long
If LEDs keep failing in the same spot, stop swapping bulbs and start checking the setup.
LED Maintenance Tips by Product Type
LED care gets easier when you stop treating every product the same. Bulbs, panels, and tube lights often fail for different reasons.
1. LED Bulb Lights
Standard bulb LEDs most often fail early because of heat and fixture mismatch. If you’re using LED bulb lights, check whether they are:
- Rated for enclosed fixtures
- Dimmable (if used on a dimmer)
- Suitable for the room’s heat and moisture level
A bulb that works fine in one room may flicker in another because the fixture, dimmer, or holder is different.
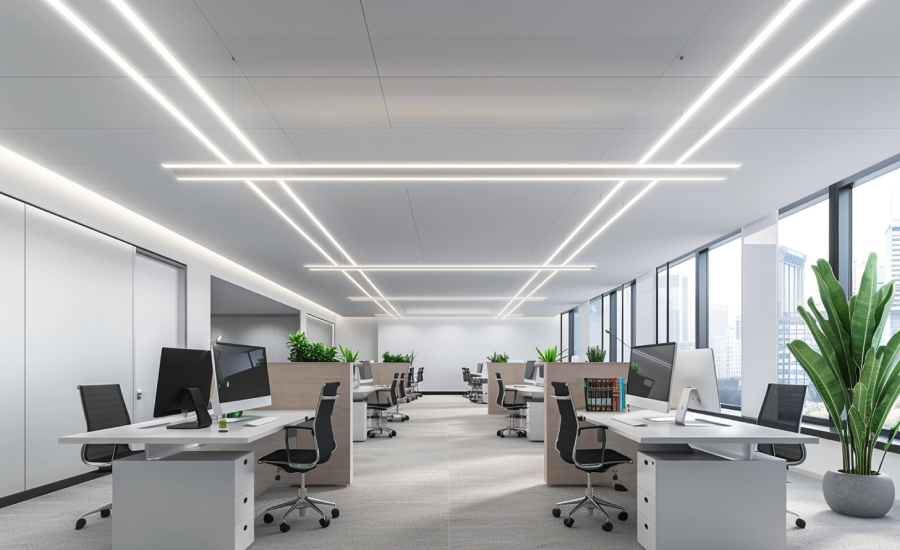
2. Surface Panel Lights
Surface panels depend heavily on driver quality and heat dissipation. In ceilings with poor airflow, driver stress becomes a bigger issue.
If a panel starts flickering, dimming unevenly, or shifting color, inspect the driver before replacing the whole unit.
3. Tube Lights
Tube light issues often come from retrofit compatibility and wiring method mistakes. That’s why one replacement works perfectly in one fitting and flickers in another.
If you use surface panel lights or tube light options in offices, kitchens, or shops, keep a record of the model and install date. It makes repeat troubleshooting much faster.
Small Habits that Quietly Add Years to LED Life
The main fixes do the heavy lifting, but these small habits also help a lot:
- Don’t overspec brightness in small rooms.
- Keep kitchen fixtures cleaner than bedroom fixtures.
- Replace weak dimmers, not just bulbs.
- Keep a spare from the same batch for dimmed circuits.
- Track repeat failures by room (it reveals the real cause faster)
If you’re replacing multiple fixtures, choose products rated for your room conditions instead of only matching brightness. If you need help choosing the right setup, explore our indoor lighting options by room type.
In the end, long-life LED performance comes from treating lighting as a system—not just changing bulbs when something goes wrong.
Safety Note
This guide covers basic maintenance and troubleshooting. If you are dealing with hardwired fixtures, repeated breaker trips, burning smells, or warm switches/outlets, use a licensed electrician.
Frequently Asked Questions (FAQs)